DIY: paint organization 🎨
At this point, it’s wildly clear that I’m here for a DIY project. But I always have 2 conditions: 1) it has to be outstandingly easy and 2) it needs to look polished as a final product. Nothing to craftsy is permitted! (What’s to craftsy? I don’t know. It’s wildly subjective!)
In March, I hired an organizer for my studio. (See last post!) Orchid Organizing’s Owner, Kate, sent me to Lowe’s with a short list: peg board and hooks. I knew where she was going with it, so I got those two items, but I added two more. I found the best shade of bright spray paint I could find in a strangely small section (aqua, although I really wanted a light pink!), and a bronze-gold spray for metal. Lowe’s has precut peg board in really manageable sheets, so I purchased one (for less that $10 I might add) and a few varied hooks that i knew would work for paint tubes.
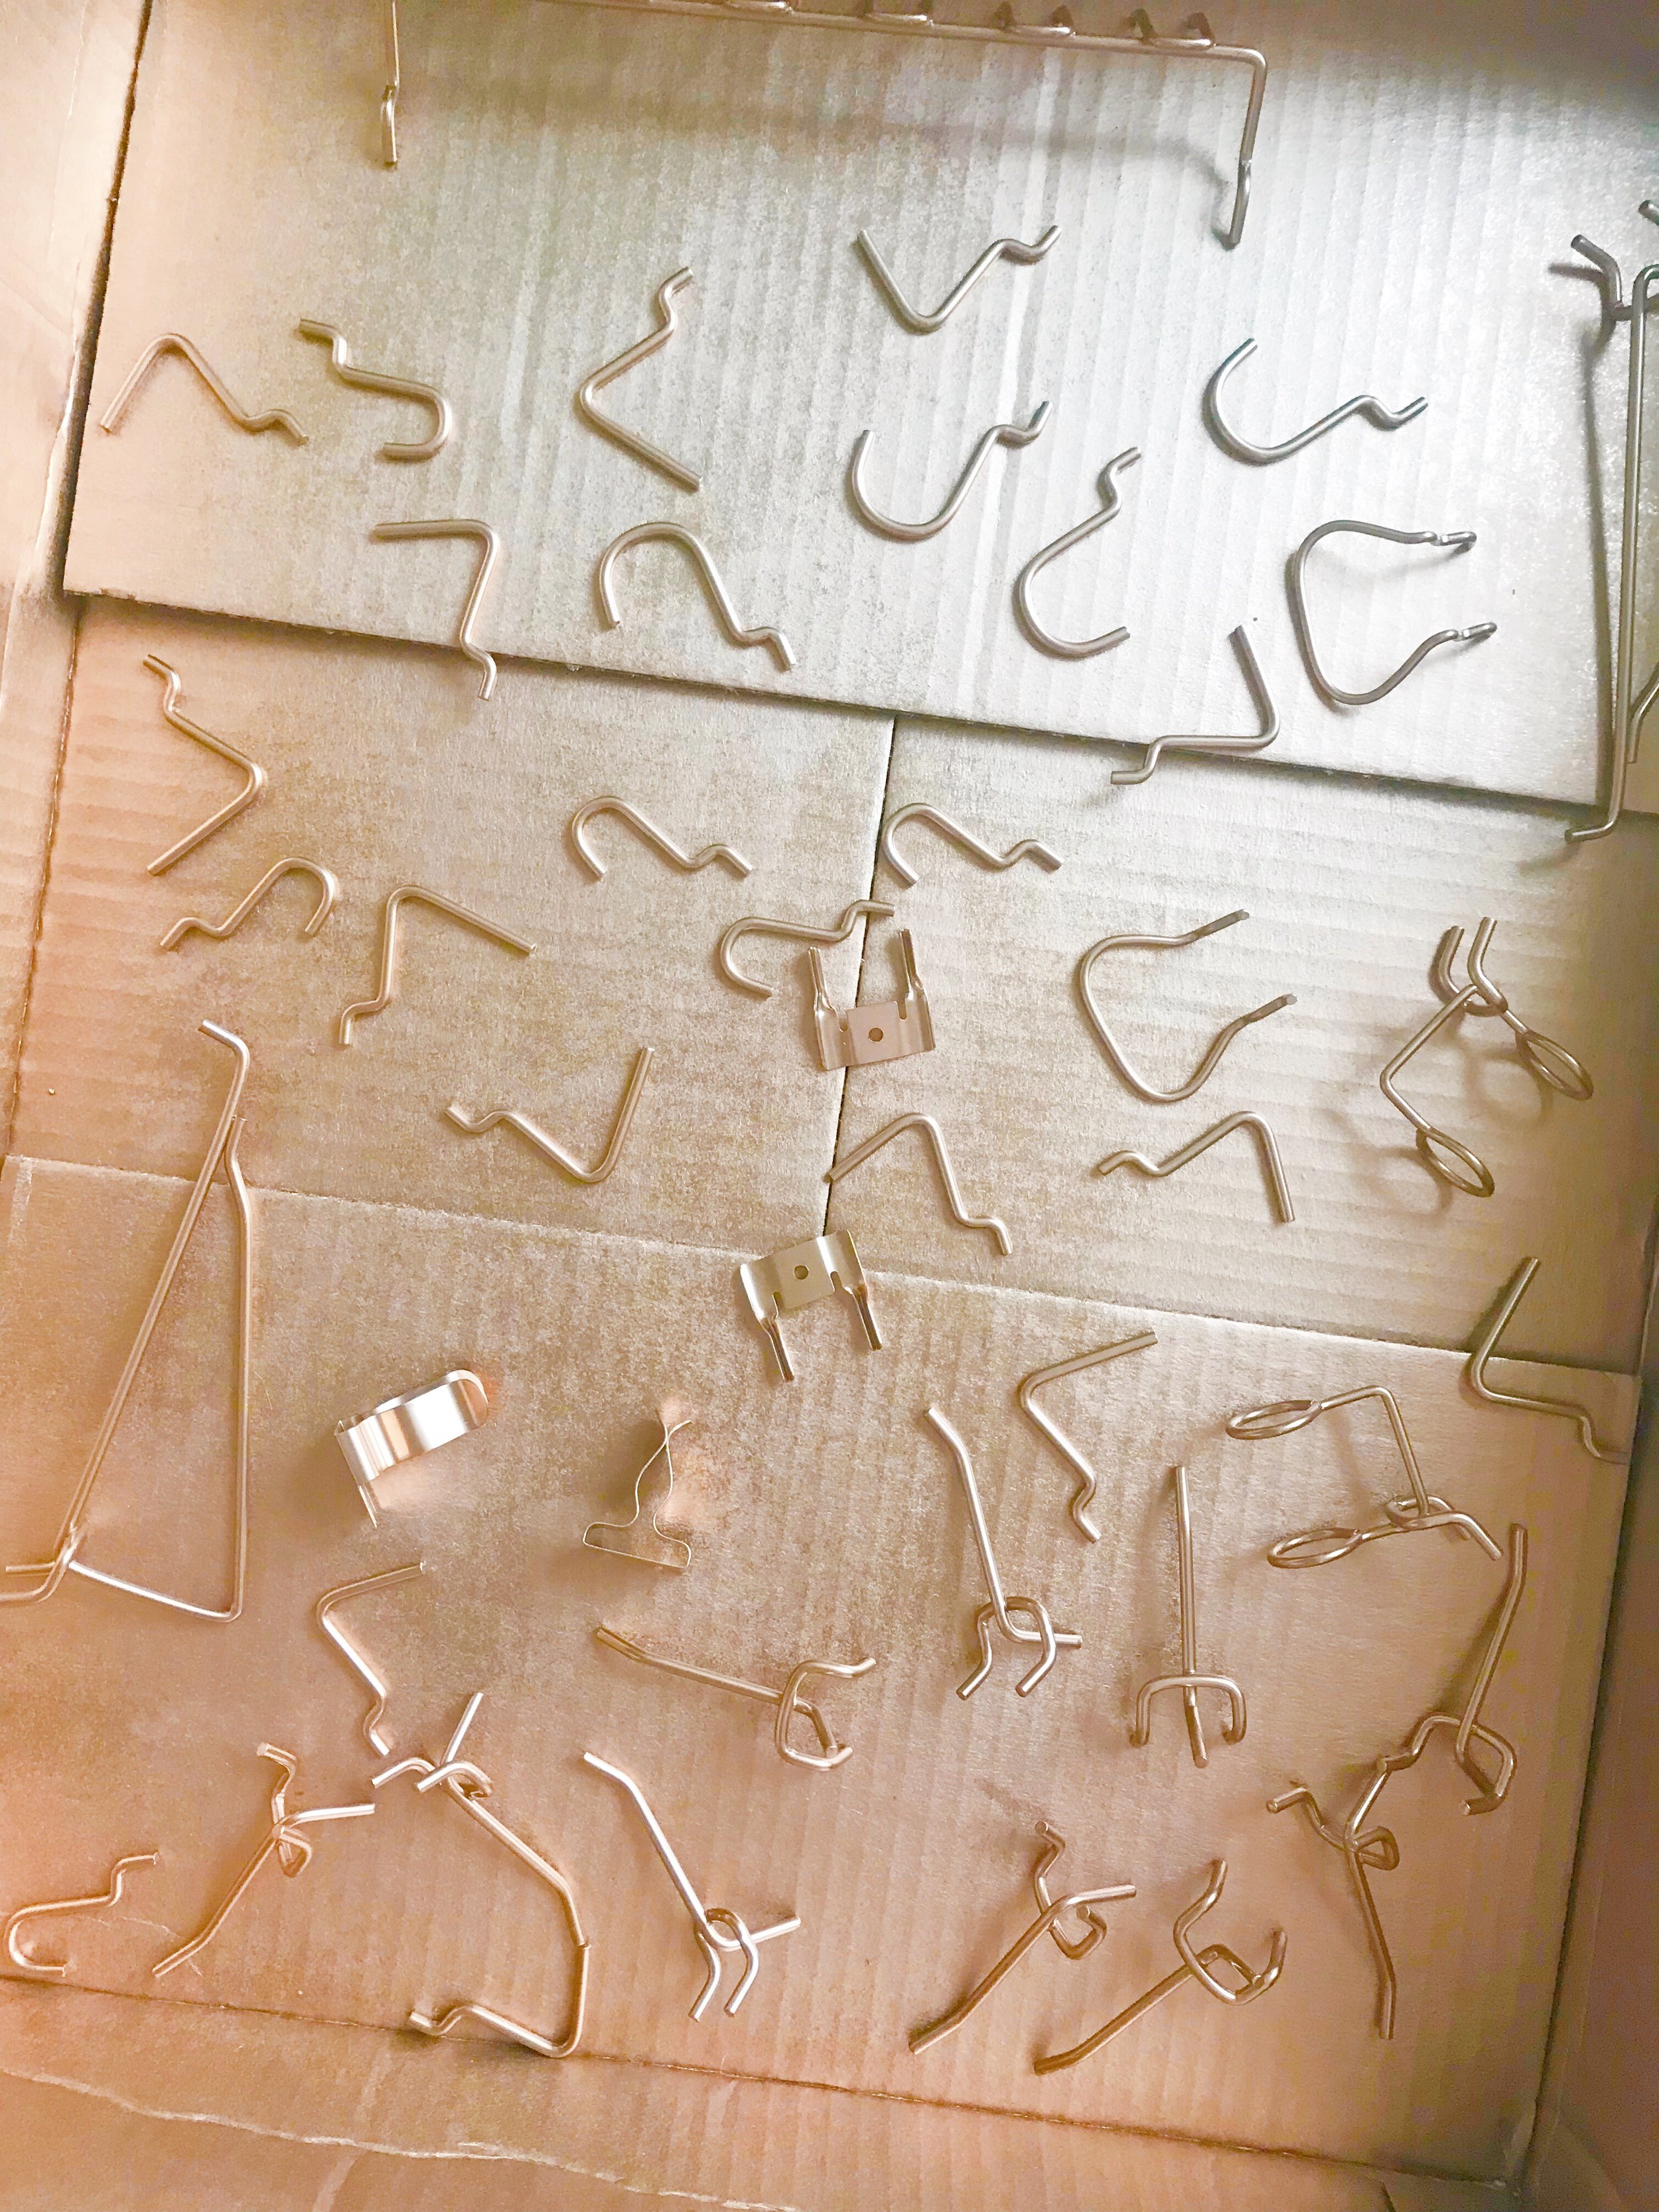
The DIY part of this is almost too easy to be called a project. I laid all of the hooks out in a shallow box and sprayed them gold; dried it for an hour, flipped, and repeated. Then I let them dry for 24 hours before using them. At the same time, I sprayed the front of the pegboard (the front is just the best looking side) until it was fully coated and smooth- about three full coats for me. One can of each color did it! Same rule though- I let it dry 24 hours before use.
To hang, we placed three large nails in the wall to match to holes on the right, left, and middle of the peg board. We hung it up, and the magic unfolded! *note: I have real pine paneling in my studio, so the nails were held in place very well and could support the weight of the board with paint. Try to find a stud if you have drywall, or use an anchor and screws!
I also have tubs of paint, so we hung shelving for it. This peg board is a major part of keeping things organized now, though! I can’t believe I didnt think of it before. Go make one, artists! You won’t regret it.


